Are you tired of missing important details during your Microsoft Teams meetings? Do you wish you could record your meetings so you could review them later? If so, you're in luck!
ScreenApp is the perfect solution for recording your Microsoft Teams meetings. It's a powerful screen recorder that allows you to record your meetings with just a few clicks. Whether you're using the web browser or the Microsoft Teams app, ScreenApp can record your meeting.

Here are just a few of the benefits of using ScreenApp to record your Microsoft Teams meetings:
- Easy to use: ScreenApp is incredibly easy to use. Just click the "Record" button and start recording your meeting.
- High-quality recordings: ScreenApp records your meetings in high quality, so you can easily see and hear everything that's being said.
- Record both system and microphone audio: ScreenApp can record both your system audio and your microphone audio, so you can record your voice and the voices of other participants.
- Record your entire screen or just a specific window: You can choose to record your entire screen or just a specific window, so you can focus on what's important.
- Save your recordings in a variety of formats: ScreenApp can save your recordings in a variety of formats, including MP4, MOV, and WMV.
In addition to the benefits listed above, ScreenApp also offers a number of other features, including:
- Automatic recording: You can set ScreenApp to automatically record your meetings, so you never have to worry about forgetting to hit the "Record" button.
- Scheduled recording: You can schedule ScreenApp to record your meetings at a specific time, so you can record meetings that you won't be able to attend in person.
- Cloud storage: You can store your recordings in the cloud, so you can access them from anywhere.
Step 1: Create a Free ScreenApp account
If you don't already have a ScreenApp account, you can create one for free.
Step 2: Join or start a Microsoft Teams meeting
You can record any Microsoft Teams meeting, whether you're hosting it or joining as a participant.
Step 3: Open ScreenApp and start a new recording
Click the "New Recording" button in the top right corner of the ScreenApp dashboard.
Step 4: Select the screen recording options
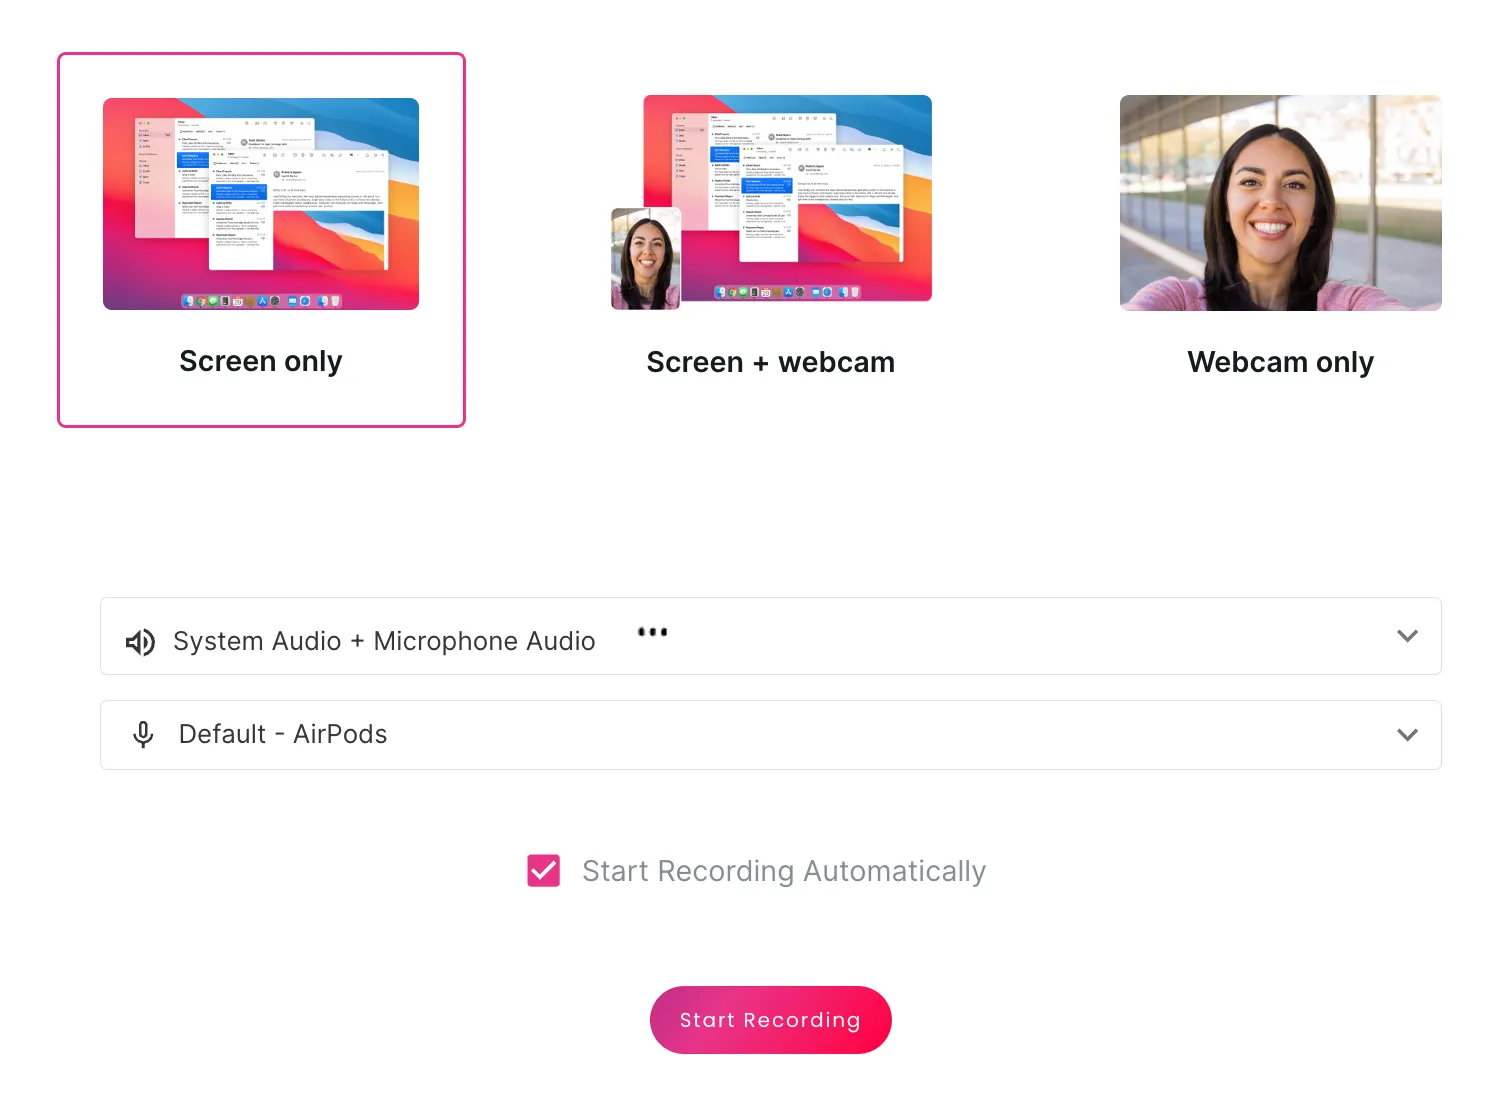
In the first drop-down menu, select the screen recording option you want to use. If you want to record your entire screen, select "Entire Screen." If you only want to record a specific window or application, select "Window" and then choose the window or application you want to record.
In the second drop-down menu, select "System Audio + Microphone Audio" to record both your system audio and your microphone audio. This will allow you to record your voice and the voices of other meeting participants.

Step 5: Share your screen with ScreenApp
Click the "Share Your Screen" button and then select the screen or window you want to share with ScreenApp.
Step 6: Start recording
Click the "Start Recording" button to begin recording your meeting.
Step 7: Stop recording
Once you're finished recording, click the "Stop Recording" button.
Step 8: Save your recording
ScreenApp will automatically save your recording to your cloud storage account. You can then download or share your recording from your cloud storage account.
Additional tips:
- If you're recording a meeting with multiple participants, it's a good idea to ask them for permission to record the meeting first.
- If you're having trouble recording your meeting, try restarting your computer and ScreenApp.
- You can also use ScreenApp to record other types of online meetings, such as Zoom meetings, Google Meet meetings, and Webex meetings


